List of All Articles

All you need to know about Carpenter's Square - 30


Diagram 30.1: White to play

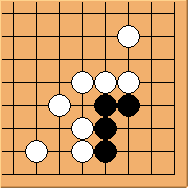
This is one of the simplest problems in the series if white knows where to start.

All you need to know about Carpenter's Square - 29


Diagram 29.1: White to play

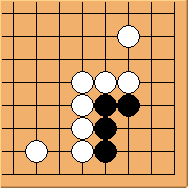
We've seen very similar patterns while studying Shape 23 and 24. Just to repeat here to make the series complete.

All you need to know about Carpenter's Square - 28


Diagram 28.1: White to play

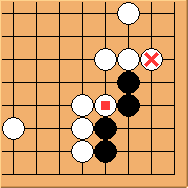
Can the external liberty make any difference?
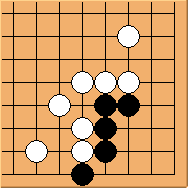
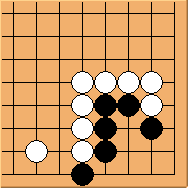
All you need to know about Carpenter's Square - 27


Diagram 27.1: White to play

Can Black square secure this corner?

All you need to know about Carpenter's Square - 26


Diagram 26.1: White to play

All you need to know about Carpenter's Square - 25


Diagram 25.1: White to play

All you need to know about Carpenter's Square - 24


Diagram 24.1: White to play

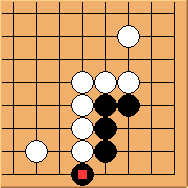
The extra external liberty makes a lot of difference. What's the best strategy for white?

All you need to know about Carpenter's Square - 23


Diagram 23.1: White to play

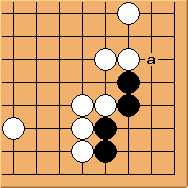
Let's study this 'incomplete' Carpenter's Square.

All you need to know about Carpenter's Square - 22


Diagram 22.1: White to play

We already learned that attacking at 'a' from outside is not working. What else?
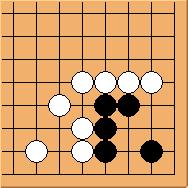
All you need to know about Carpenter's Square - 21


Diagram 21.1: Black to play

Pages